I sometimes become complacent. That's when I start doing the same techniques that I know over and over. This has been the case lately.
So I search for tutorials and ask questions, eventually learning something new. This time I learned something new that I should have learned a long time ago; working with layer masks. I'll tell you the terrible truth, "It's super easy".
Let me explain:
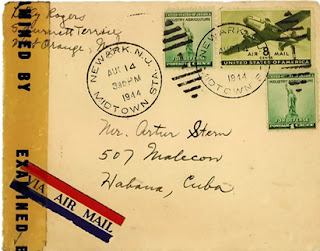
Open a graphic or finished piece. This will be your background layer.
 |
| Envelope courtesy of: http://www.flickr.com/photos/digitalcollagestudio/4636531507/in/photostream/ |
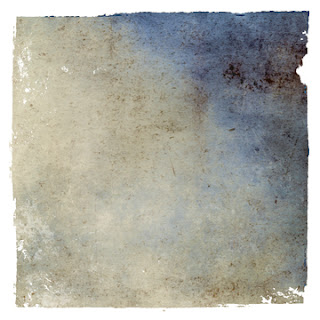
Next PLACE a layer mask. This will be Layer 1.
 |
| Shawhouse Creations |
You will then have an ugly, washed out picture like this one.
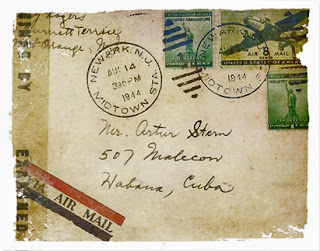
But look carefully and you will see the ragged and torn edges from the mask appear on the envelope (that's a good thing). So then go up to ENHANCE menu and find ADJUST LIGHT. You can play around with that and with the ADJUST COLOUR under the same menu.
Then it will look more like this.
 |
| ©NeonSun 2010 |
For another tutorial on the subject check out this link.
http://www.flickr.com/photos/skeletalmess/4537941043/sizes/o/
Or you could print out the original and let your cat chew on it for awhile. The choice is yours.
Your brain thanks you for reading this post.

No comments:
Post a Comment