Hi. Here's a simple way to add a pattern fill to something using the Colour Pop.
 |
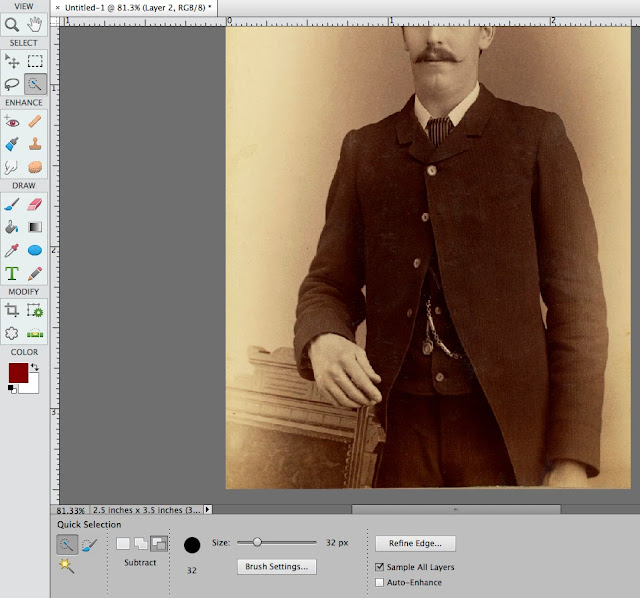
| Photo courtesy of Retro Cafe Art |
Once you have your photo up, you can SELECT the QUICK SELECTION TOOL. Elements 6 users, this is in your magic wand flyout selection. Elements 11, you'll find this at the bottom left side below your workspace.
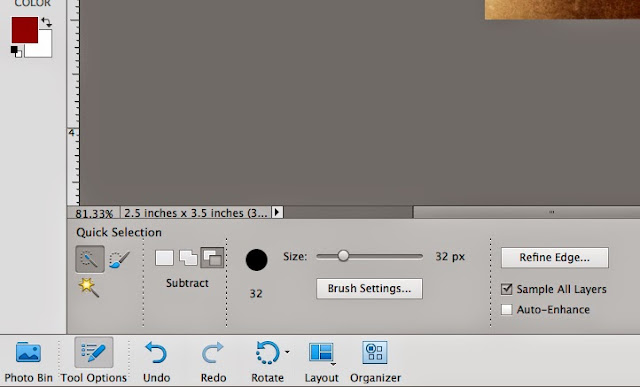
Make friends with this area, we'll be using it a lot. Here's a better pic. of it.
 | ||
| Notice that the quick selection tool is chosen. |
After choosing the QUICK SELECTION TOOL you'll notice your cursor turns into a circle. Start at the top of the area you want to fill and drag down to the bottom and release.
There should be marching ants around your selection.
It's probably not perfect. If it doesn't go out to the edges you can drag the marching ant line out. I like to increase the size of the photo when I'm dragging the line out. Even if you don't need new glasses you'll find resizing helpful.
At this point you may of dragged the marching ant line way out of your selection area. Don't stress out. you can fix this. Hold down the OPTION (ALT key for PCs) key and it will now be able to pull the line back inside the border.
Then click on your PAINT BUCKET tool.
 |
| Above picture |
At the bottom of your screen will be all your options for the PAINT BUCKET tool. At the far left you have 2 different boxes. The plain box is plain colour. Okay, dump in some plain colour if it makes you happy. Now you can remove the plain colour by hitting Command Z.
The second box has diagonal lines. It selects PATTERNS. Next to it is the pattern I've selected.
Go to LAYER -> NEW FILL LAYER -> PATTERN
Okay, now dump the PATTERN into the selected area (marching ants). Mine looks like this.
 |
| So Tragic... |
I agree; it doesn't look that great. Take a moment to look at the sliders in the above picture.
In this tragic picture:
The MODE is NORMAL
The TOLERANCE is at max
The OPACITY is at 100%
Click on your new FILL LAYER layer on the right hand side of your page where your LAYERS pallet lives. You can:
Adjust your MODE (try using MULTIPLY or LINEAR BURN)
Adjust your OPACITY to around 75.
Your fill should look like this.
NOTE: If you added colour go to the MODE pull down menu and second from the bottom is COLOR. The jacket should fit then.
 |
| Linear Burn at 75% opacity |
For most people this is the last step. However the jacket is really dark, MULTIPLY often is. In this case go to the top and under ENHANCE pull down the menu and go to ADJUST LIGHTING and LEVELS. You can adjust the lighting without the fade that you would get from the OPACITY slider.
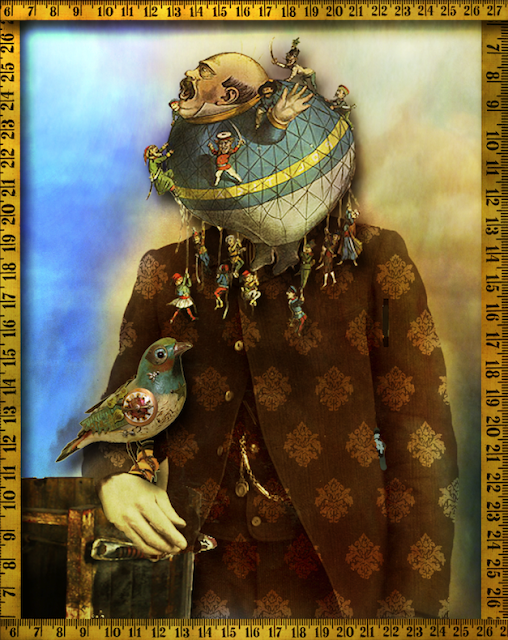
I used this method and about a zillion more changes to make this.
 | |
| Notice the jacket. Thanks to Fruebel for the balloon and Jinxmim for the colourful bird. |